[LEGACY] Event Registrations with Forms
We have a new Event Ticketing feature that is in BETA as of July 2026 and will replace the instructions here. Set up your next event with Create and manage ticketed and RSVP events.
Set up any event registration in JourneyCARE with a four-step process: create products, build a registration form, configure post-purchase automations, and add the event to your website calendar.
Step 1: Create the event-associated products
Create each registration type as a product in the product area. Anything people should be able to buy for the event is a product in JourneyCARE, including:
Registration or ticket types
Guest meal tickets
Event t-shirts
Add-on experiences such as local tours or a VIP reception
Step 2: Create a registration form
After your event products are created, add them to forms so people can sign up and pay.
If you do not want member tickets to be publicly available, create two forms: one with only the public options and one with the member options. Put the member-only form in your member area behind login, and include only the public-facing form on the public website.
Step 3: Set what happens after someone purchases a ticket
In your JourneyCARE database, open the Automations section and configure what should happen after a ticket purchase.
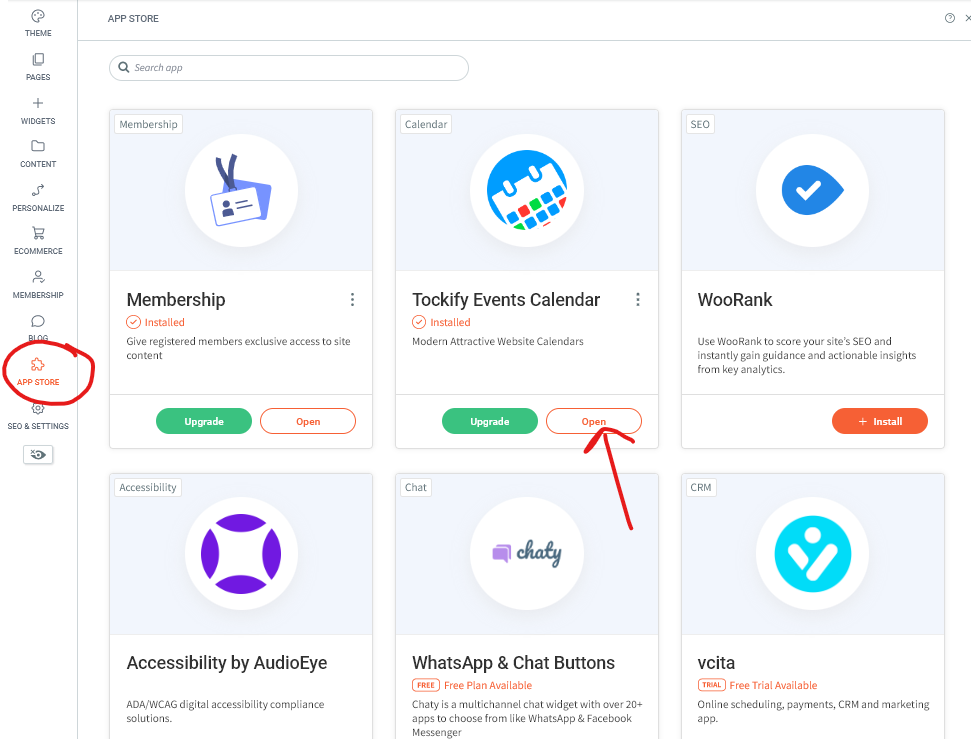
Step 4: Add the event to your website calendar
If you are using the Premium Site Editor, add the event to your website calendar so visitors can find and register for it. You will do this with the Tockify App, which you can find under My Apps in the Site Editor.