Add an event to the calendar
Open Tockify from Apps, then create a new event or copy an existing one and edit the details.
Open the calendar app
Tockify is the calendar app where you add events.
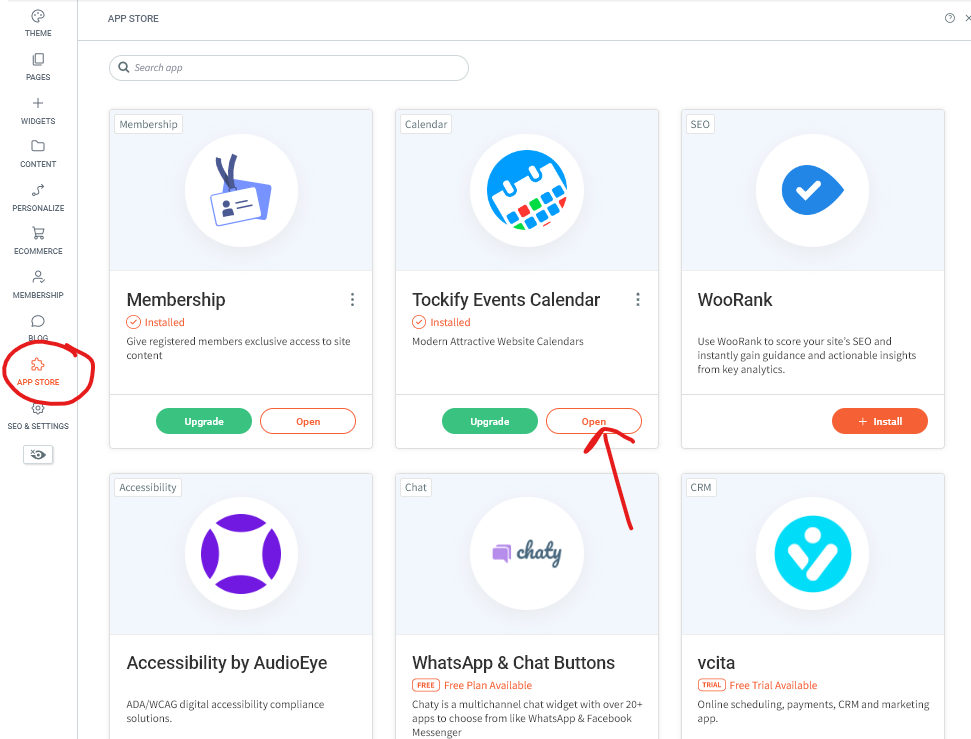
In the left-hand navigation, click Apps.
Find Tockify and click Open.
Copy an existing event
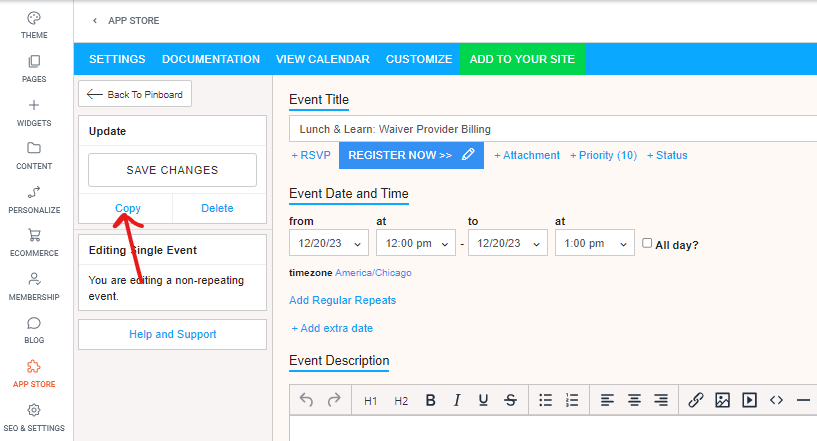
If you already have a similar event, copy it and edit the copy instead of starting from scratch.
Open the existing event.
Click Copy.
Edit the copied version with the new details.
Create an event from scratch
If you need a new event, create one and fill in the fields below.
Click Create Event.
Enter the event details using the tips in the next section.
Before you save, use the second column to add a feature image and any event tags your organization uses.
Save the event.
Event detail tips
Use these fields as follows when you fill out the event form.
Event Title — This is exactly what appears on the calendar.
RSVP — Do not use RSVP unless the event is free, you only need a simple headcount, and the data does not need to go anywhere else. RSVP only sends an email to the person designated in Settings. Most organizations do not use this option.
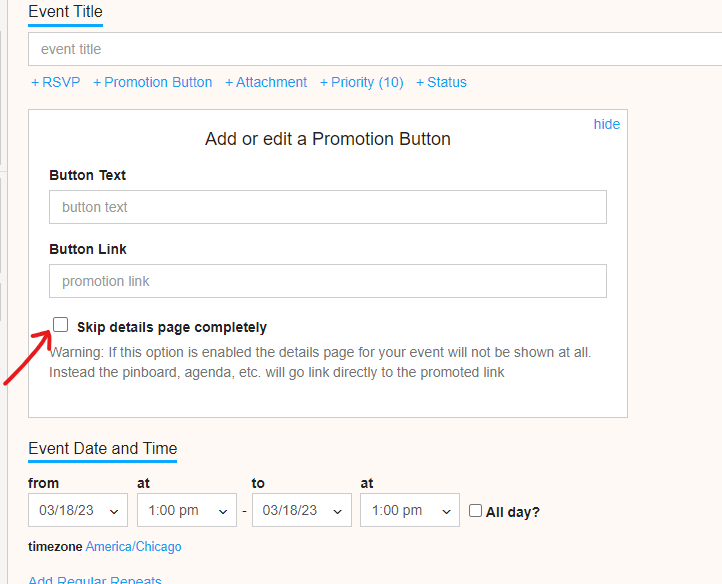
Promotion Button — Link here to the page where people sign up or buy tickets.
Time/Date — You can also add repeating meetings.
Event Description — This is what shows when someone clicks an event to learn more.
Event Location — Put an online event link here only if it is acceptable for non-registrants to see it. Ignore the RSVP-related location message unless you are using the RSVP option above.
If people register somewhere else and the full details already live on that page, you do not need to repeat them in the calendar. On the Promotion Button, check Skip details page completely so the calendar item sends people straight to registration.